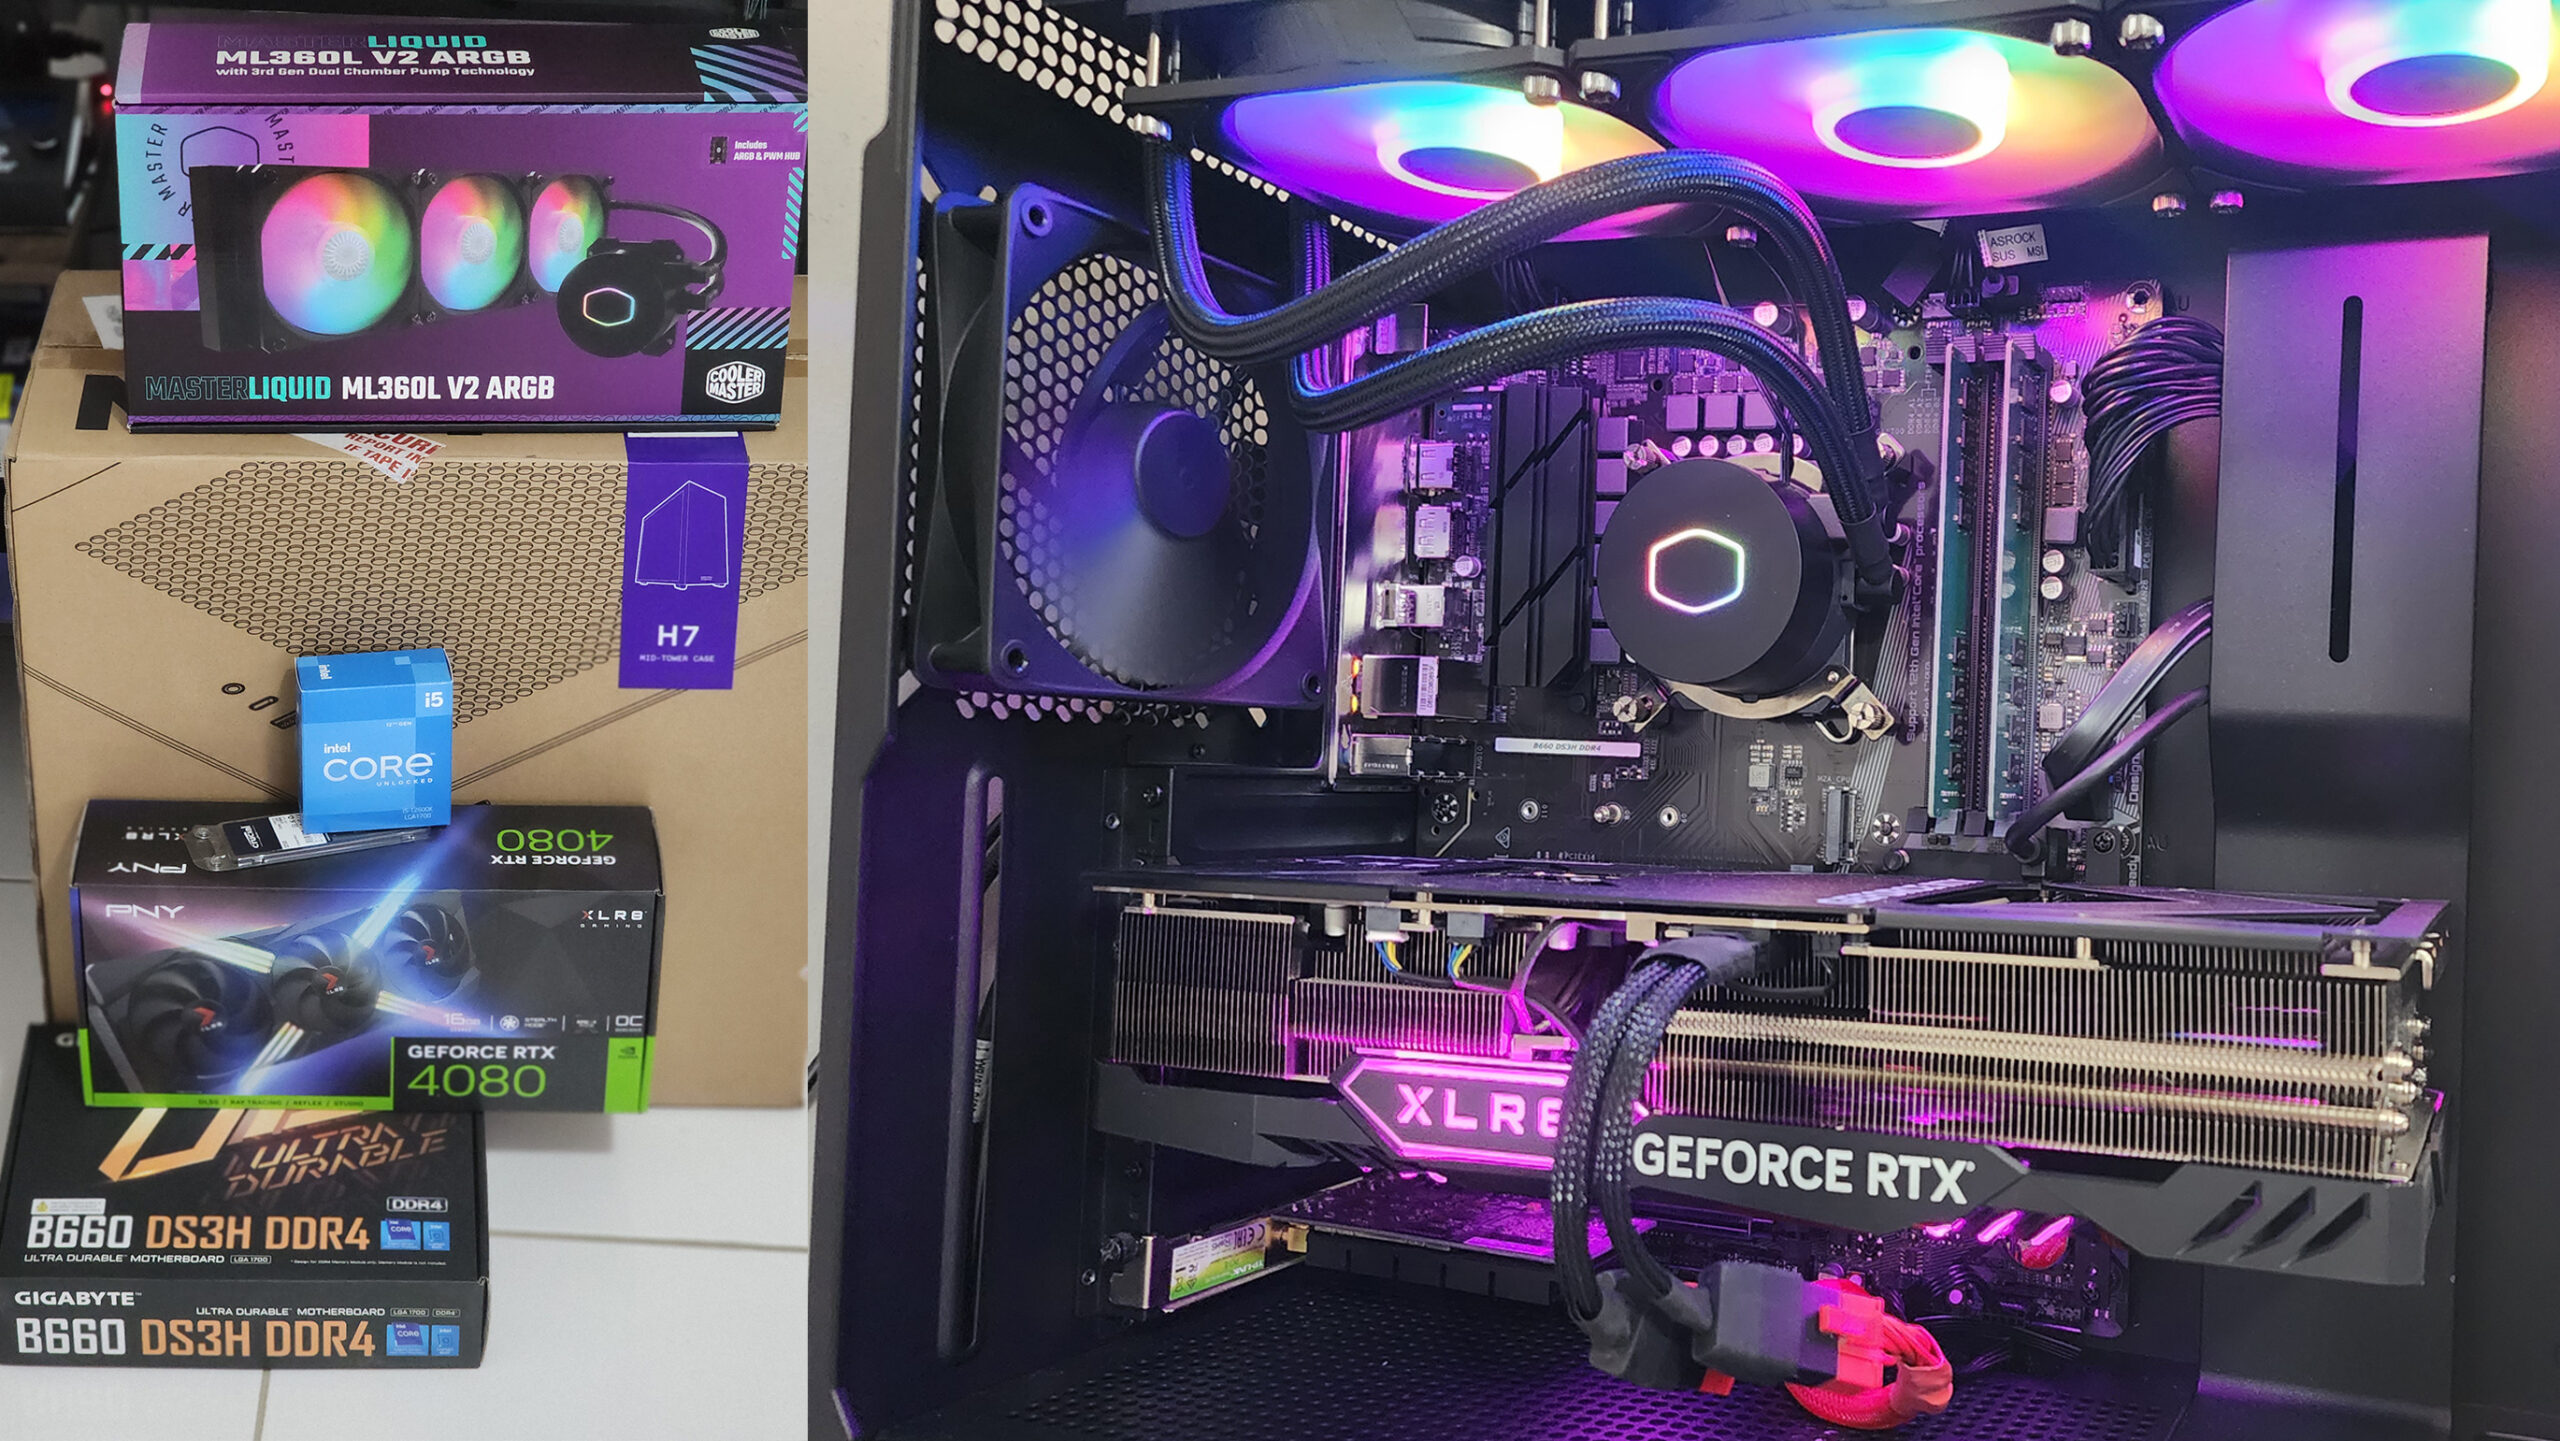
This Christmas I bought myself a gift, well 7 gifts if you’re really counting…. a CPU, motherboard, RAM, graphics card, SSD, CPU water cooler and a new PC Case.
It all started with me buying an RTX 4080 and realising that the SATA ports on my mATX motherboard don’t have enough clearance from this gigantic beastly sized graphics card, major size difference to the RX580 it was sporting earlier. Not to mention my current Micro Tower case was not wide enough to house the graphics card in two directions, length and width. So, as you can see this left me in a pickle;
- Do I buy a bigger case and a larger ATX AM4 socket motherboard to support the 2nd Generation Ryzen 5 CPU I have, which is now 5 years behind the technological curve and the motherboard won’t support the new generation AM5 sockets for any future upgrades?
Or,
- Do I take the plunge and get a new generation CPU and motherboard to allow me a bit more flexibility with future upgrades?
The moment was not particularly great for CPUs decisions as both Intel and AMD have new socket sizes hopefully these don’t change faster than the tides, and the slow uptick of DDR5 coming into the market. I made the choice to get a slightly older 12th generation Intel i5 CPU the reasoning for Intel is purely for performance, based on my current computing needs for a workstation with part time gaming, let’s be honest I’m no longer a gaming prodigy that could clutch a 1v5 in Counter-Strike.
That being said, I thought it’d be fun to write a quick guide on the installation of all the components in the form of a tutorial considering I was planning on doing this type of tutorial almost 10 years ago where I even made CPU and RAM installation videos then but never got around to actually putting the tutorial together, so I’ve added these in for some visual guides.
Start by gathering all of your components and placing them on a static-free surface, such as a tabletop or desk.

- Begin by installing the CPU (Intel Core i5 12600K) onto the motherboard (Gigabyte B660 DS3H DDR4). To do this, locate the CPU socket on the motherboard and carefully lift the latch on the socket. Place the CPU into the socket, matching the corners of the CPU with the corners of the socket. Lower the latch to secure the CPU in place.
- Next, install the RAM (Crucial 32GB 3200MHz DDR4) into the motherboard. Locate the RAM slots on the motherboard and carefully press the RAM modules into the slots, making sure they are securely seated.
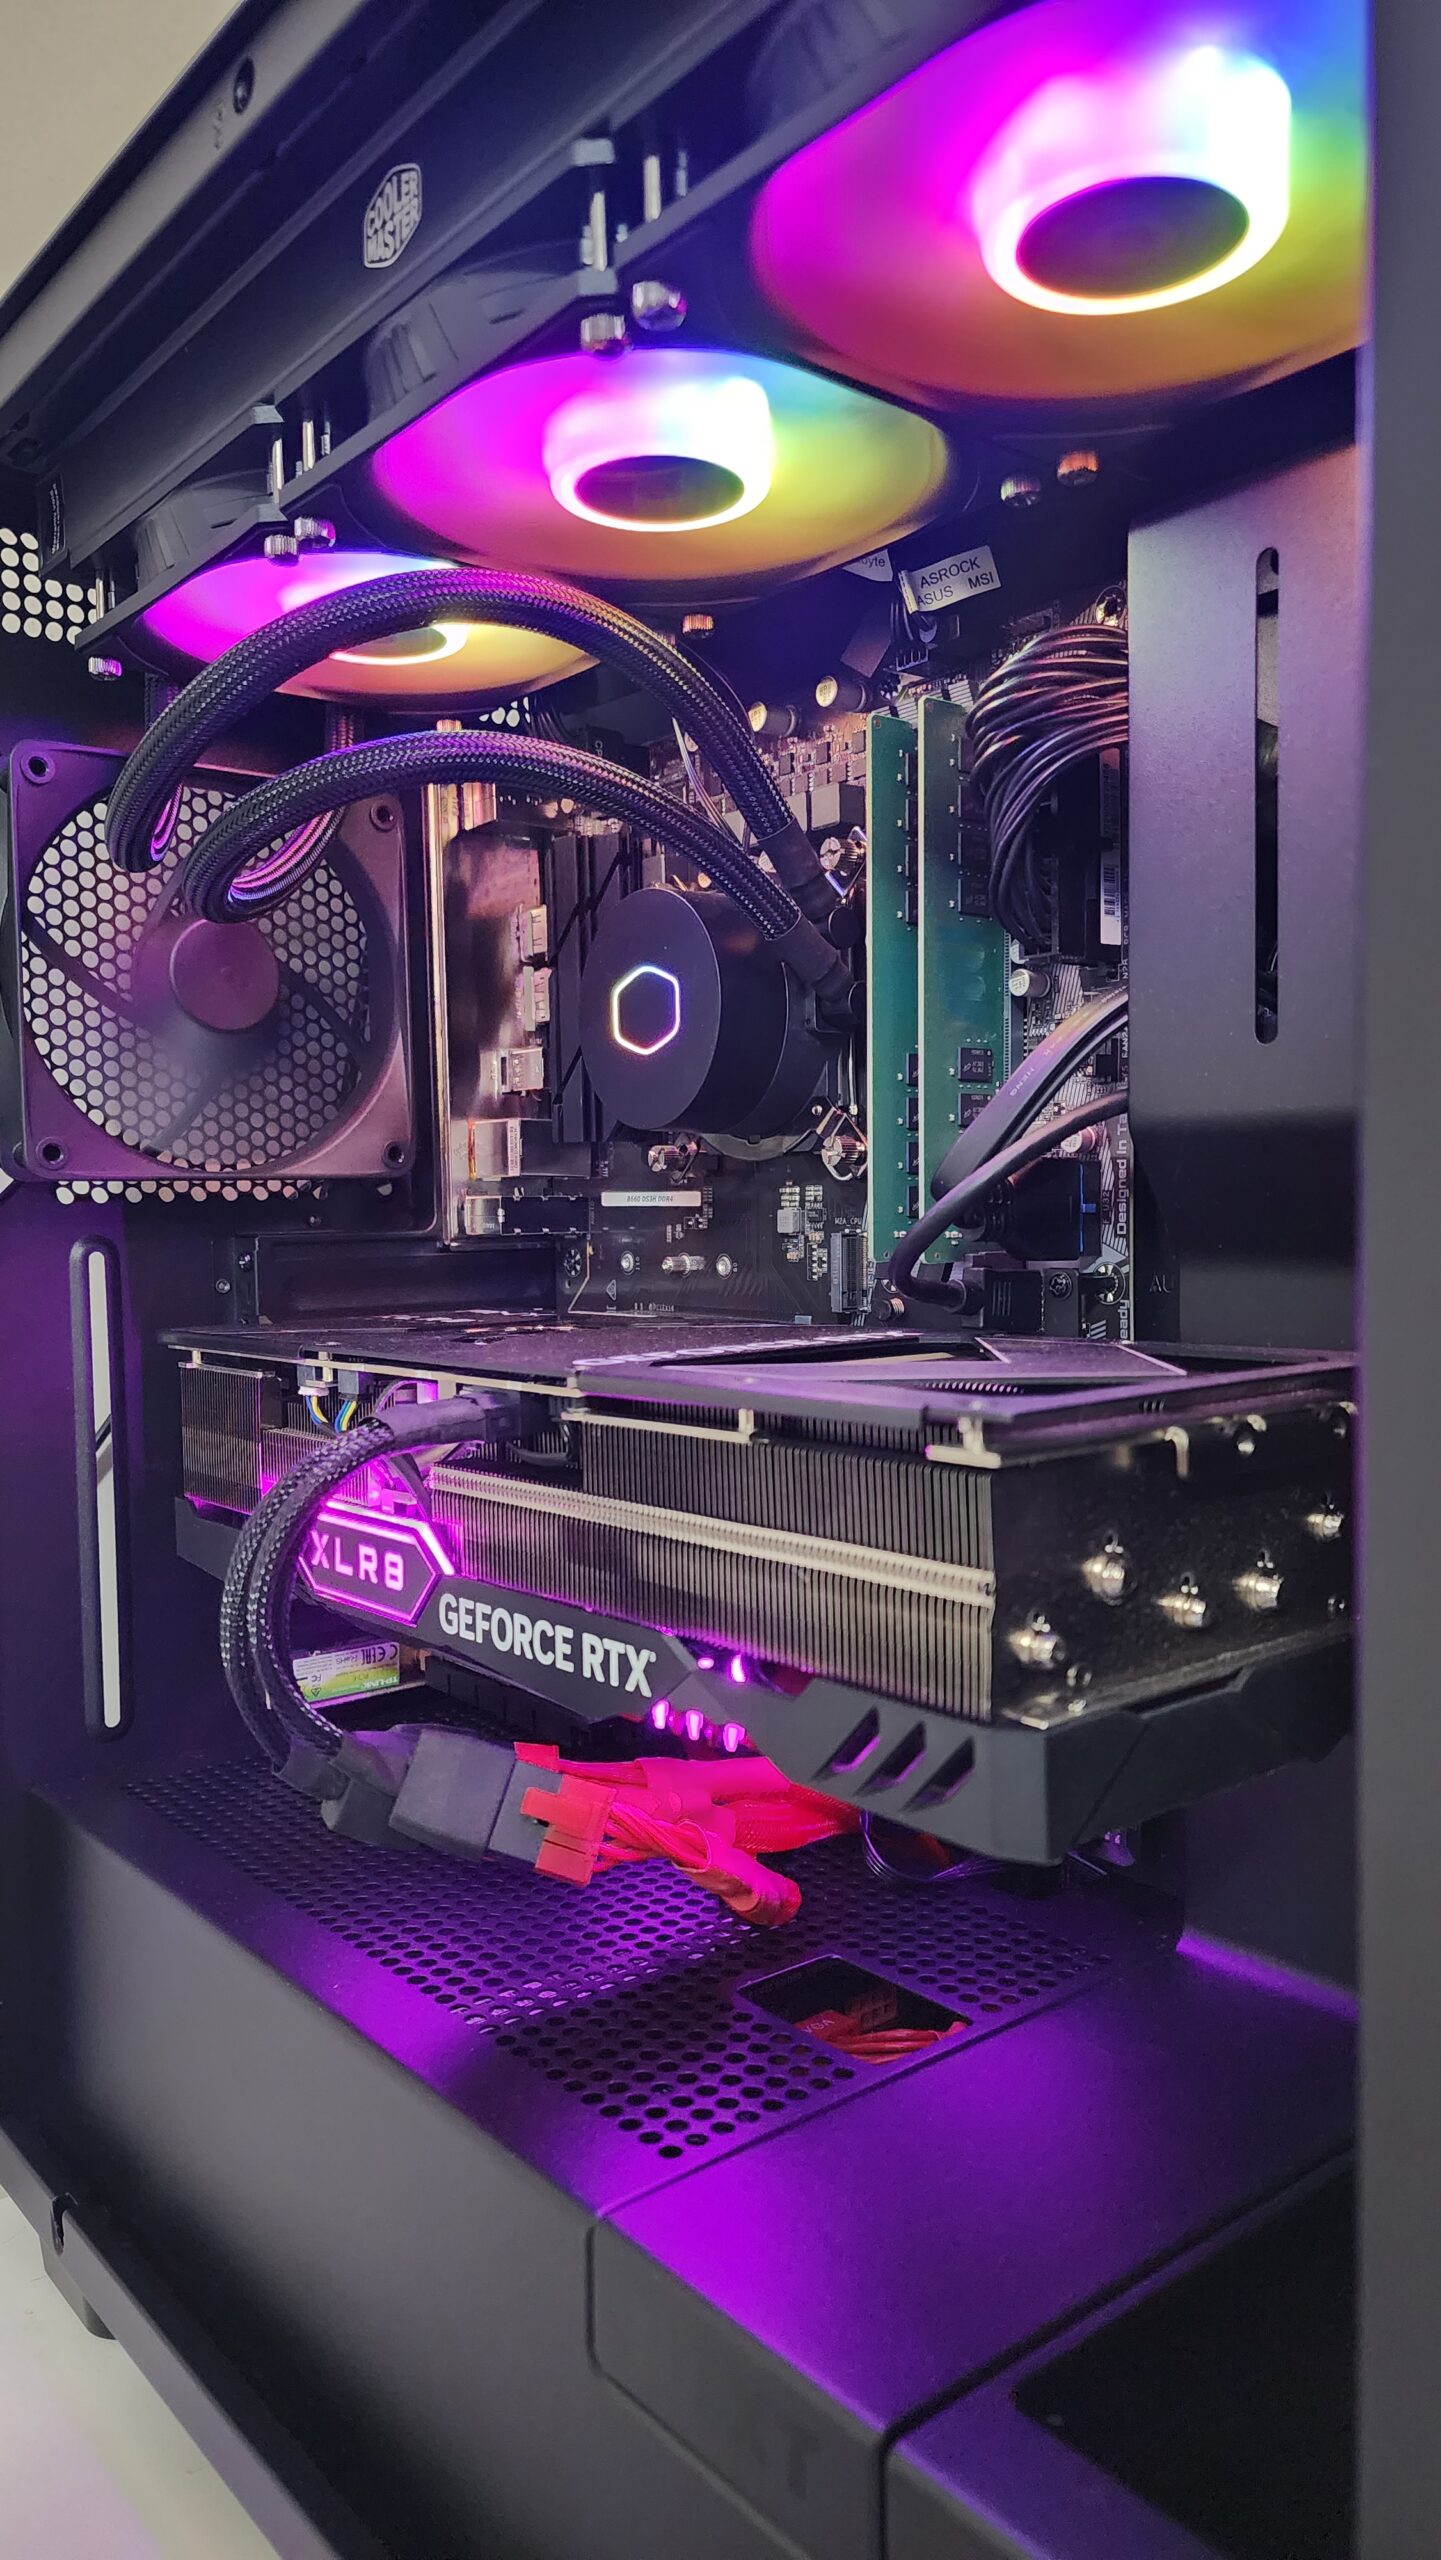
- Now it’s time to install the motherboard into the case (NZXT H7 Mid Tower ATX). First, locate the motherboard standoffs (screw holes) on the case and screw them into the appropriate holes on the case. Then, carefully place the motherboard into the case, making sure all of the connectors on the motherboard are aligned with the corresponding holes on the case. Secure the motherboard to the standoffs using screws.
- Install the graphics card (PNY GeForce RTX 4080 16GB) into the case. Locate the PCI-E slot on the motherboard and carefully insert the graphics card into the slot, making sure it is securely seated.
- Install the storage drive (Silicon Power 2TB 2.5in SATA SSD) into the case. Locate an available drive bay and carefully insert the drive, making sure it is securely seated.
- Next, install the CPU cooler (Cooler Master ML360L ARGB V2) onto the CPU. First, attach the mounting brackets to the cooler using screws. Then, place the cooler onto the CPU, making sure it is properly aligned. Secure the cooler to the motherboard using the mounting screws.
- With the motherboard and CPU cooler installed, you can now install the power supply into the case. Locate the power supply mount on the case and slide the power supply into place. Secure the power supply using screws. Now my power supply is an EVGA 120-G2-1000-XR SuperNova 1000W this thing is over 9 years old, however that is the beauty of getting a top tier power supply this trusty old thing has served me well in now 3 builds spanning just shy of a decade. If you want the latest equivalent power supply, look no further than the EVGA 1000 GQ 80+ Gold.
- Finally, you can install any additional components, such as cables. Make sure to route the cables neatly and leave enough space for airflow within the case.
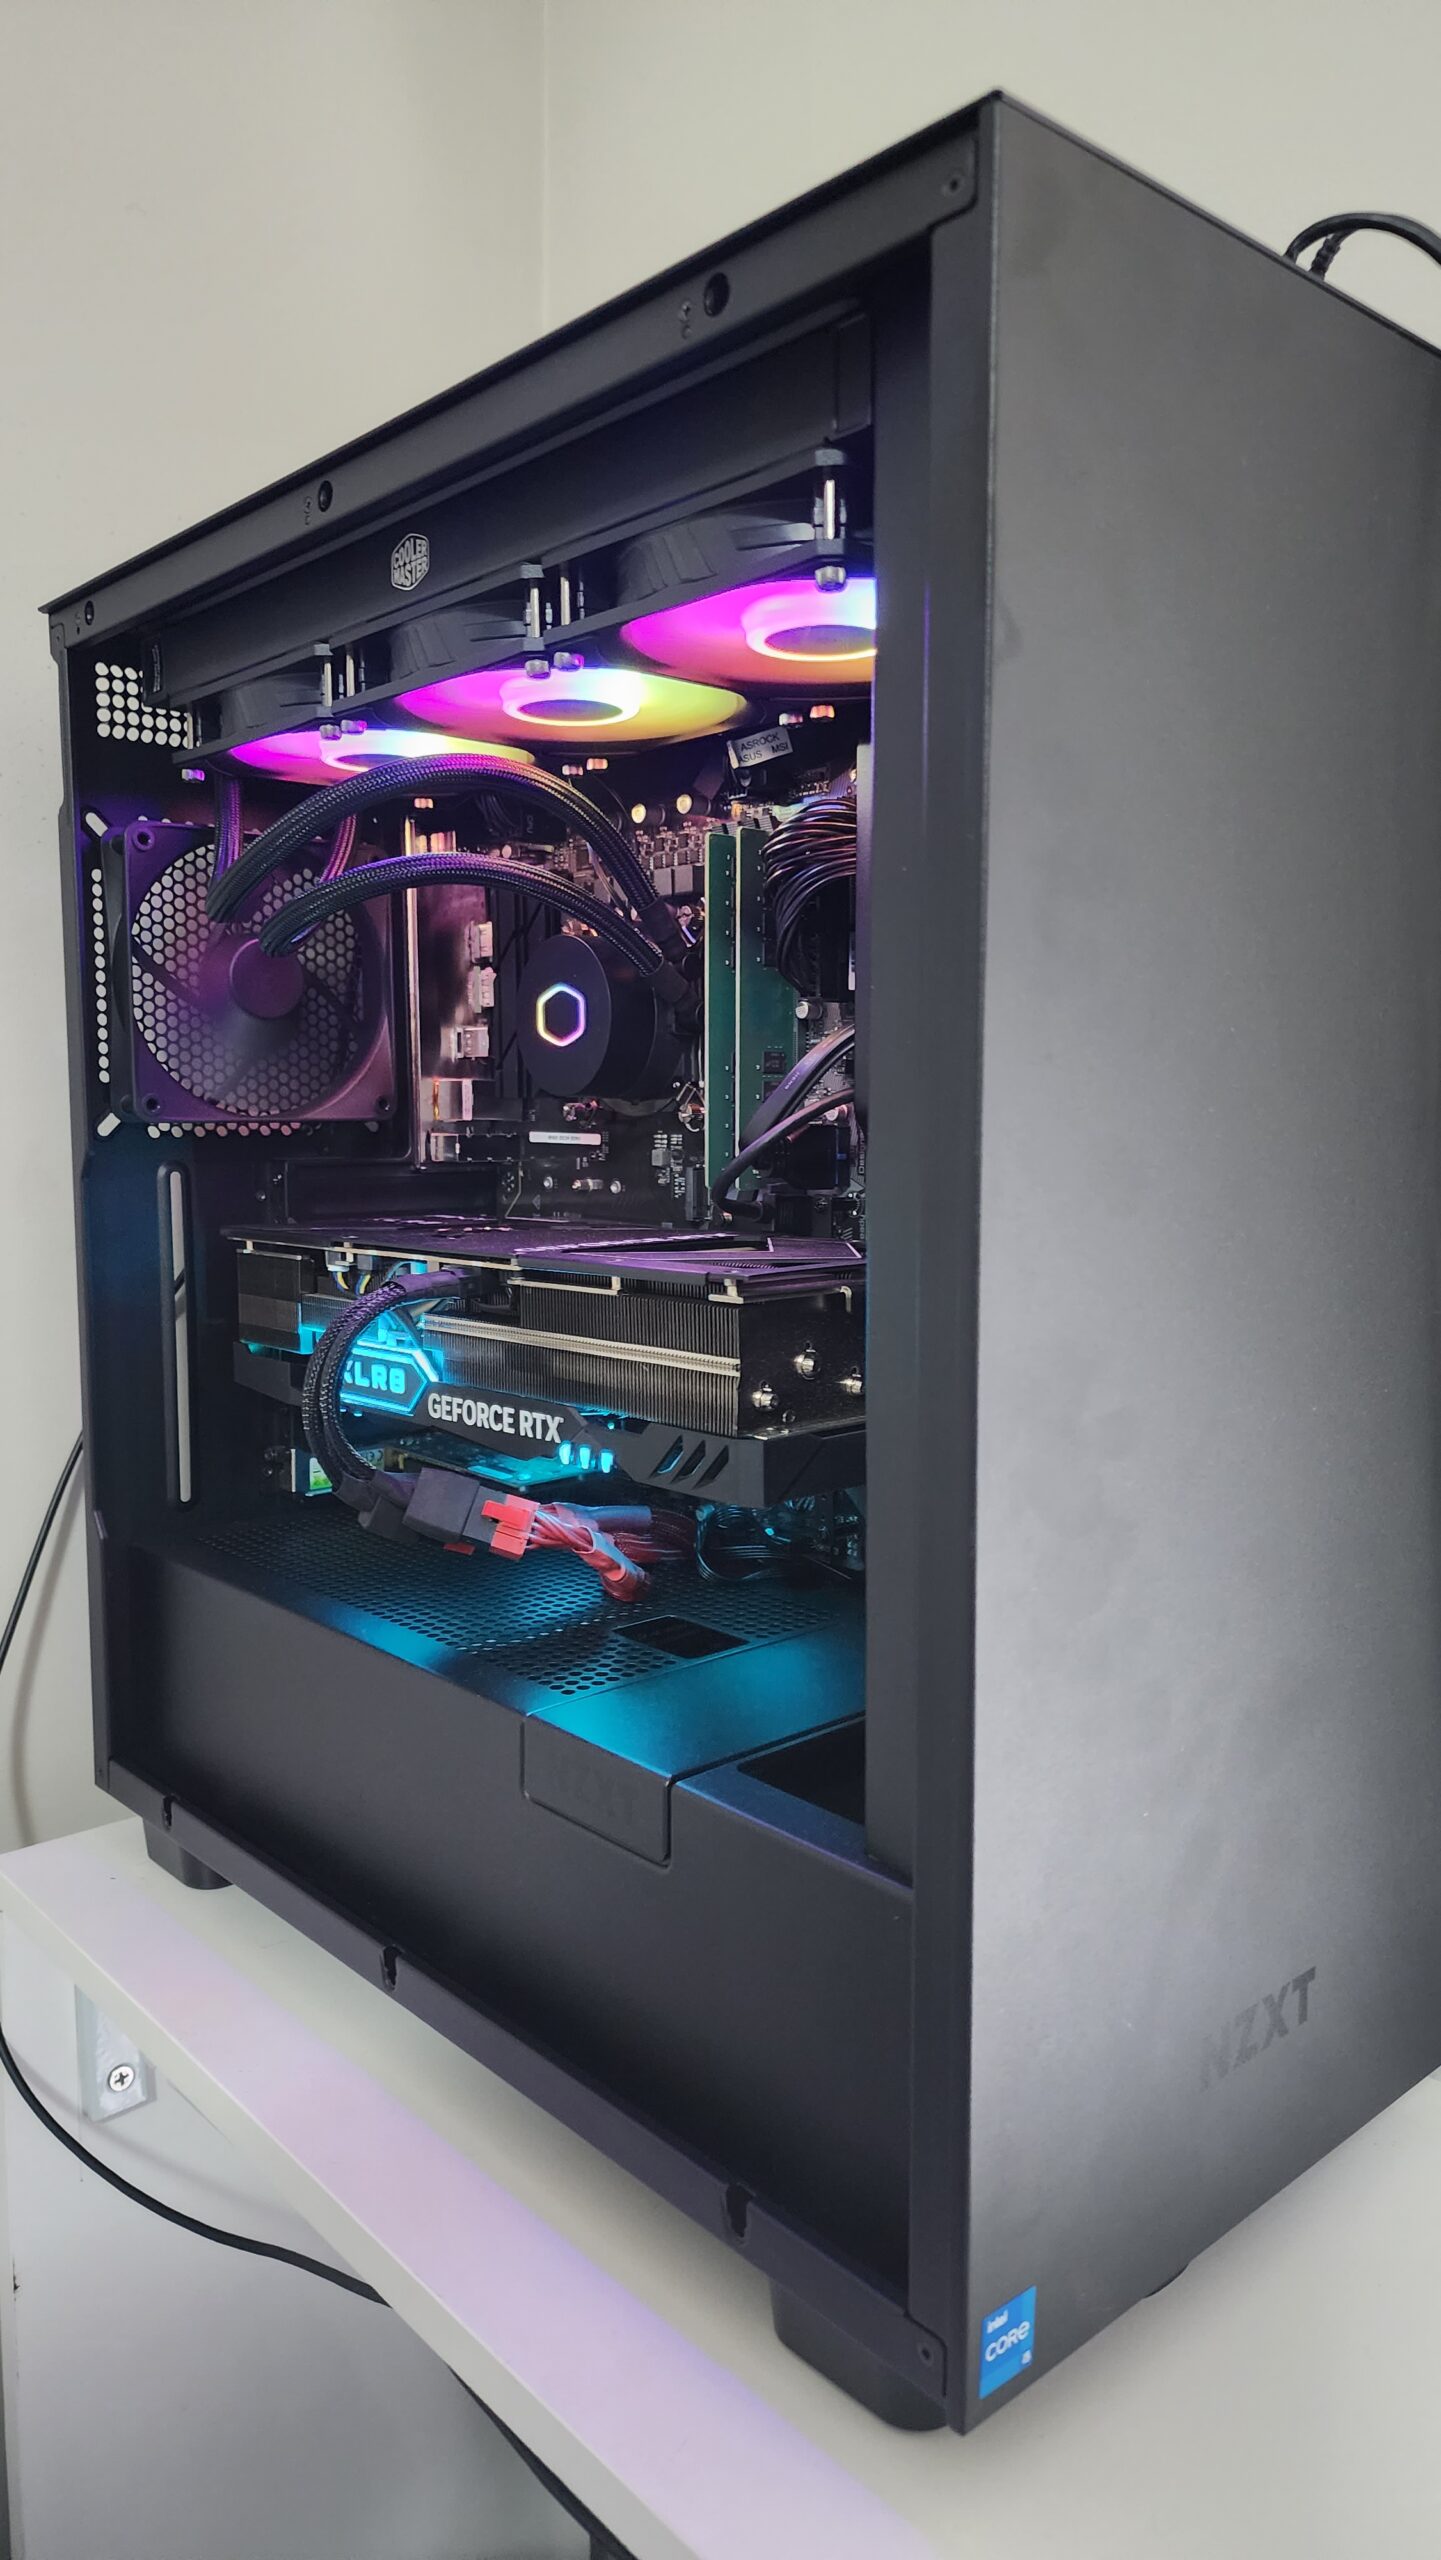
That’s it! You should now have a fully assembled PC.